DIY INSTAGRAM WALL CALENDAR

DIY INSTAGRAM WALL CALENDAR

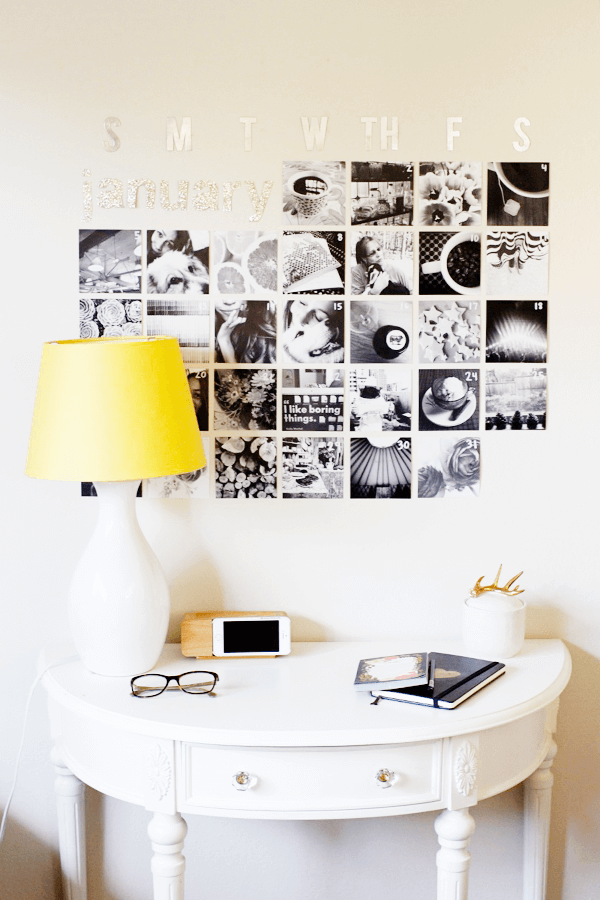
Since I moved into this new house a few months ago, I’ve been pretty careful not to add too many crazy color accents to my bedroom. I can never decide on color schemes and I always want to change things around. So I figured neutrals were the way to go, with added pops of color here and there. I have also had this instagram wall calendar idea on my mind since I moved in! As much as I love colorful photos, it made sense to go with a grayscale theme for this project. Black and white photographs are also really sweet. The last time I hung out with my friend Charity, she mentioned that black and white photos take out the colorful details but make the memories even more vivid. I love that. 🙂

DIY INSTAGRAM WALL CALENDAR

Supplies Needed:
31 4×4 printed instagrams
white paint pen (or any color)
chipboard letters and/or cardstock and glitter paper
sticky tac

DIY INSTAGRAM WALL CALENDAR

First I chose 31+ Instagrams of nice memories from the past year. If they weren’t b/w already, I edited them with Afterlight. Then I ordered all of them through PostalPix, which has amazing rates and beautiful quality. I’m a huge fan.

DIY INSTAGRAM WALL CALENDAR

DIY INSTAGRAM WALL CALENDAR

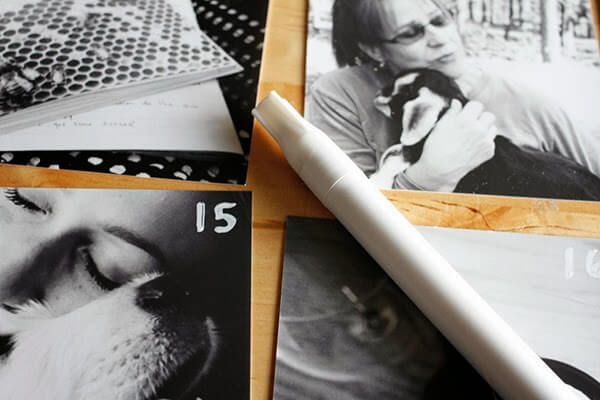
When I received the photos, I spent a long time deciding on the placement of each photo, because…I forgot that the days of the week change every month. Duh. Anyway, this was still helpful in deciding which photos should go side by side! I went with “light, dark, light, dark” pattern. Next, I numbered each photo with a white paint pen. If you want your numbers to show up better on the lighter photographs, you might consider switching to a black or gold paint pen or sharpie.

DIY INSTAGRAM WALL CALENDAR

I attached the photos to my wall using sticky tac so that they would be easy to move around each month. Because of my dorm days, I think this will always be my favorite adhesive.

For the days of the week, I used chipboard letters that I found in the Target dollar section. To spell out January, I printed large bold letters in Helvetica onto cardstock paper. I mirrored the image with my printing settings so each letter would print backwards. Then I cut out the letters and glued them to the back of a super glittery cardstock (from Michaels). I cut out the letters again and stickytac’d them to the wall. I’m planning to customize each month to look a little different and special. Can’t wait for February. 🙂

DIY FANCY KNOB WINE CORKS

I have been eyeing Anthropologie’s knobs for a really long time now, trying to find a good excuse to buy some. Finally, I got a few and decided to make little wine corks out of them! I have seen some other tutorials around the internet, but I thought I’d figure it out myself. And I ran into a lot of obstacles. This is the method that did work. 🙂

DIY FANCY KNOB WINE CORKS

[supplies needed: craft store wine corks, knobs (mine are from Anthro, but there are also cute ones at World Market), small hacksaw, drill]

Using your hacksaw, cut off about half of the door knob screw. My dad helped me out with this one since I didn’t own a hacksaw/had never used one. He left the hacksaw with me, so…hopefully I’ll find other crafty uses for it.

Next, drill a hole in the center of the wine cork. It’s really important to try to drill straight down. I have found that the craft store corks aren’t as sturdy as real wine corks. However, at the same time, they are better for a project like this because they fit wine bottles better. When I tried using a real wine cork, a) it took soooo long to drill the hole and actually get the knob in and b) the cork expanded so it would no longer fit in any regular sized wine bottles. Yikes! Point is – these little crafty ones are the way to go.

Then, all you have to do is screw in the pretty knobs and you’re good to go!

After all of the handiwork is done, just sit back with your favorite bottle of cab and enjoy way too many episodes of Brothers and Sisters. That’s what I did at least. 🙂

DIY DREAMCATCHER

Happy Tuesday! Here’s a little dreamcatcher DIY for those of you feeling crafty. I have been making dreamcatchers and not finishing them for way too long, but I finally finished one yesterday! Hooray! Here is what my process looked like:

DIY DREAMCATCHER

DIY DREAMCATCHER

First, gather the necessary supplies. You can choose many things to embellish your dreamcatchers with. I decided to stick with the basic beads and feathers.

DIY DREAMCATCHER

Tie your yarn onto the hoop, leaving a little extra on the end (to hang it up with). Tightly wrap the yarn around the hoop. When you get to the end, tie a knot onto the extra yarn you left in the beginning.

DIY DREAMCATCHER

This is the fun part! To create the netted part of the dream catcher, I used the crochet thread and looked at this tutorial. It’s easy and super relaxing. Feel free to add beads here and there. Or feathers. Or…anything, really.

DIY DREAMCATCHER

Next, tie some pieces of crochet thread onto the bottom half of the hoop and embellish away! I strung the beads onto the string, tied a bunch of knots so they wouldn’t fall off, and then stuck feathers through the beads.

DIY DREAMCATCHER

DIY DREAMCATCHER

And ta-da! I’m seriously about to make a wall of dreamcatchers. I think they are so pretty. 🙂